This post has the latest update to my yogurt recipe. After years of no problem with the pectin recipe, I had a mysterious problem of the yogurt not fermenting. In the process of fixing this, I discovered that if I use organic 2% milk, the yogurt thickens very nicely, with no thickener required (see the Thickener section below for more details). This surprised me – I didn’t expect that the organic milk would impact the thickness. But, I have lately been using this recipe with no thickener. I left the pectin recipe post alone (a link to it is here), and added this one. This recipe easier than the pectin recipe, because it eliminates the steps required to dissolve the pectin. It’s simple: just heat the milk, add the starter yogurt, and ferment in the yogurt makers. Why do I need a long post for that?
Many years ago (approximately 16 years) I decided to learn how to make yogurt. So I googled it – what else? 😊 I found a lot of recipes and explanations, but they all seemed to make it more difficult than it should be. I tried many different variations and finally settled on what I’ll describe in this post. First I’ll give the recipe, and then, for those who are interested, I’ll describe my different yogurt making experiments and provide some more yogurt information.
My recipe is very simple. It takes only about 15 minutes to make the yogurt (not including the 8 hours fermentation time). Here it is:
Contents
Ingredients
Gather the following:
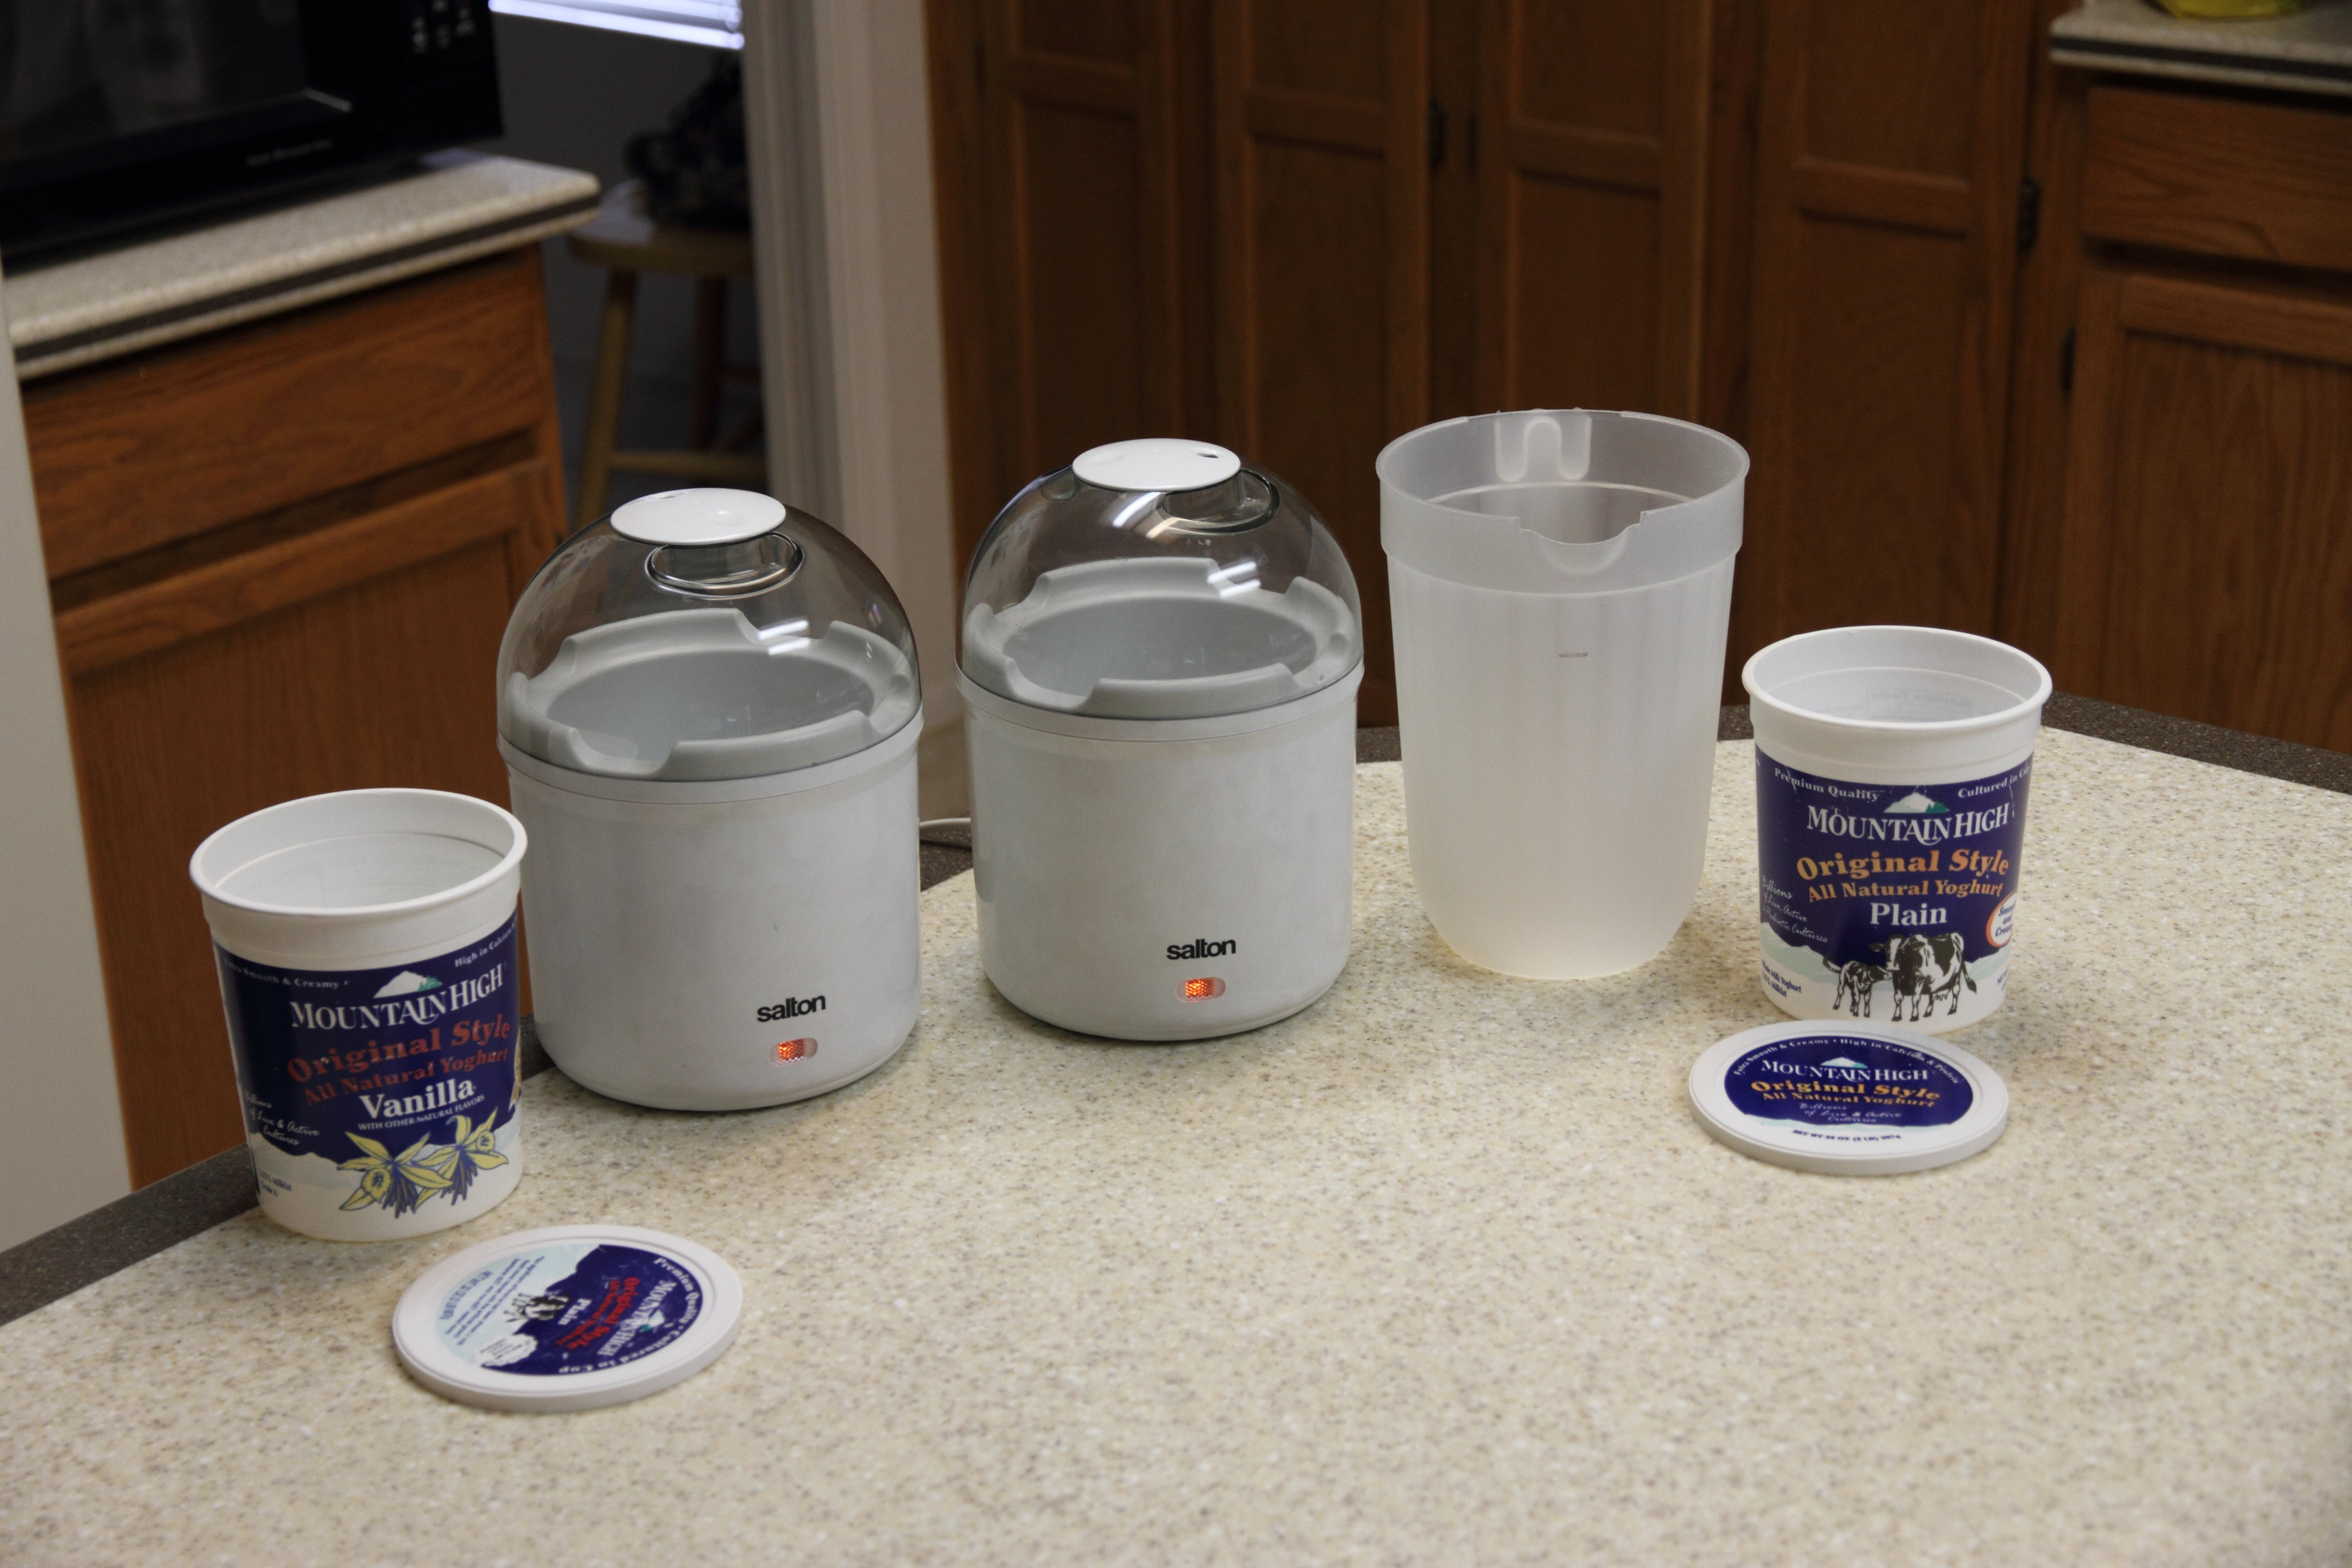
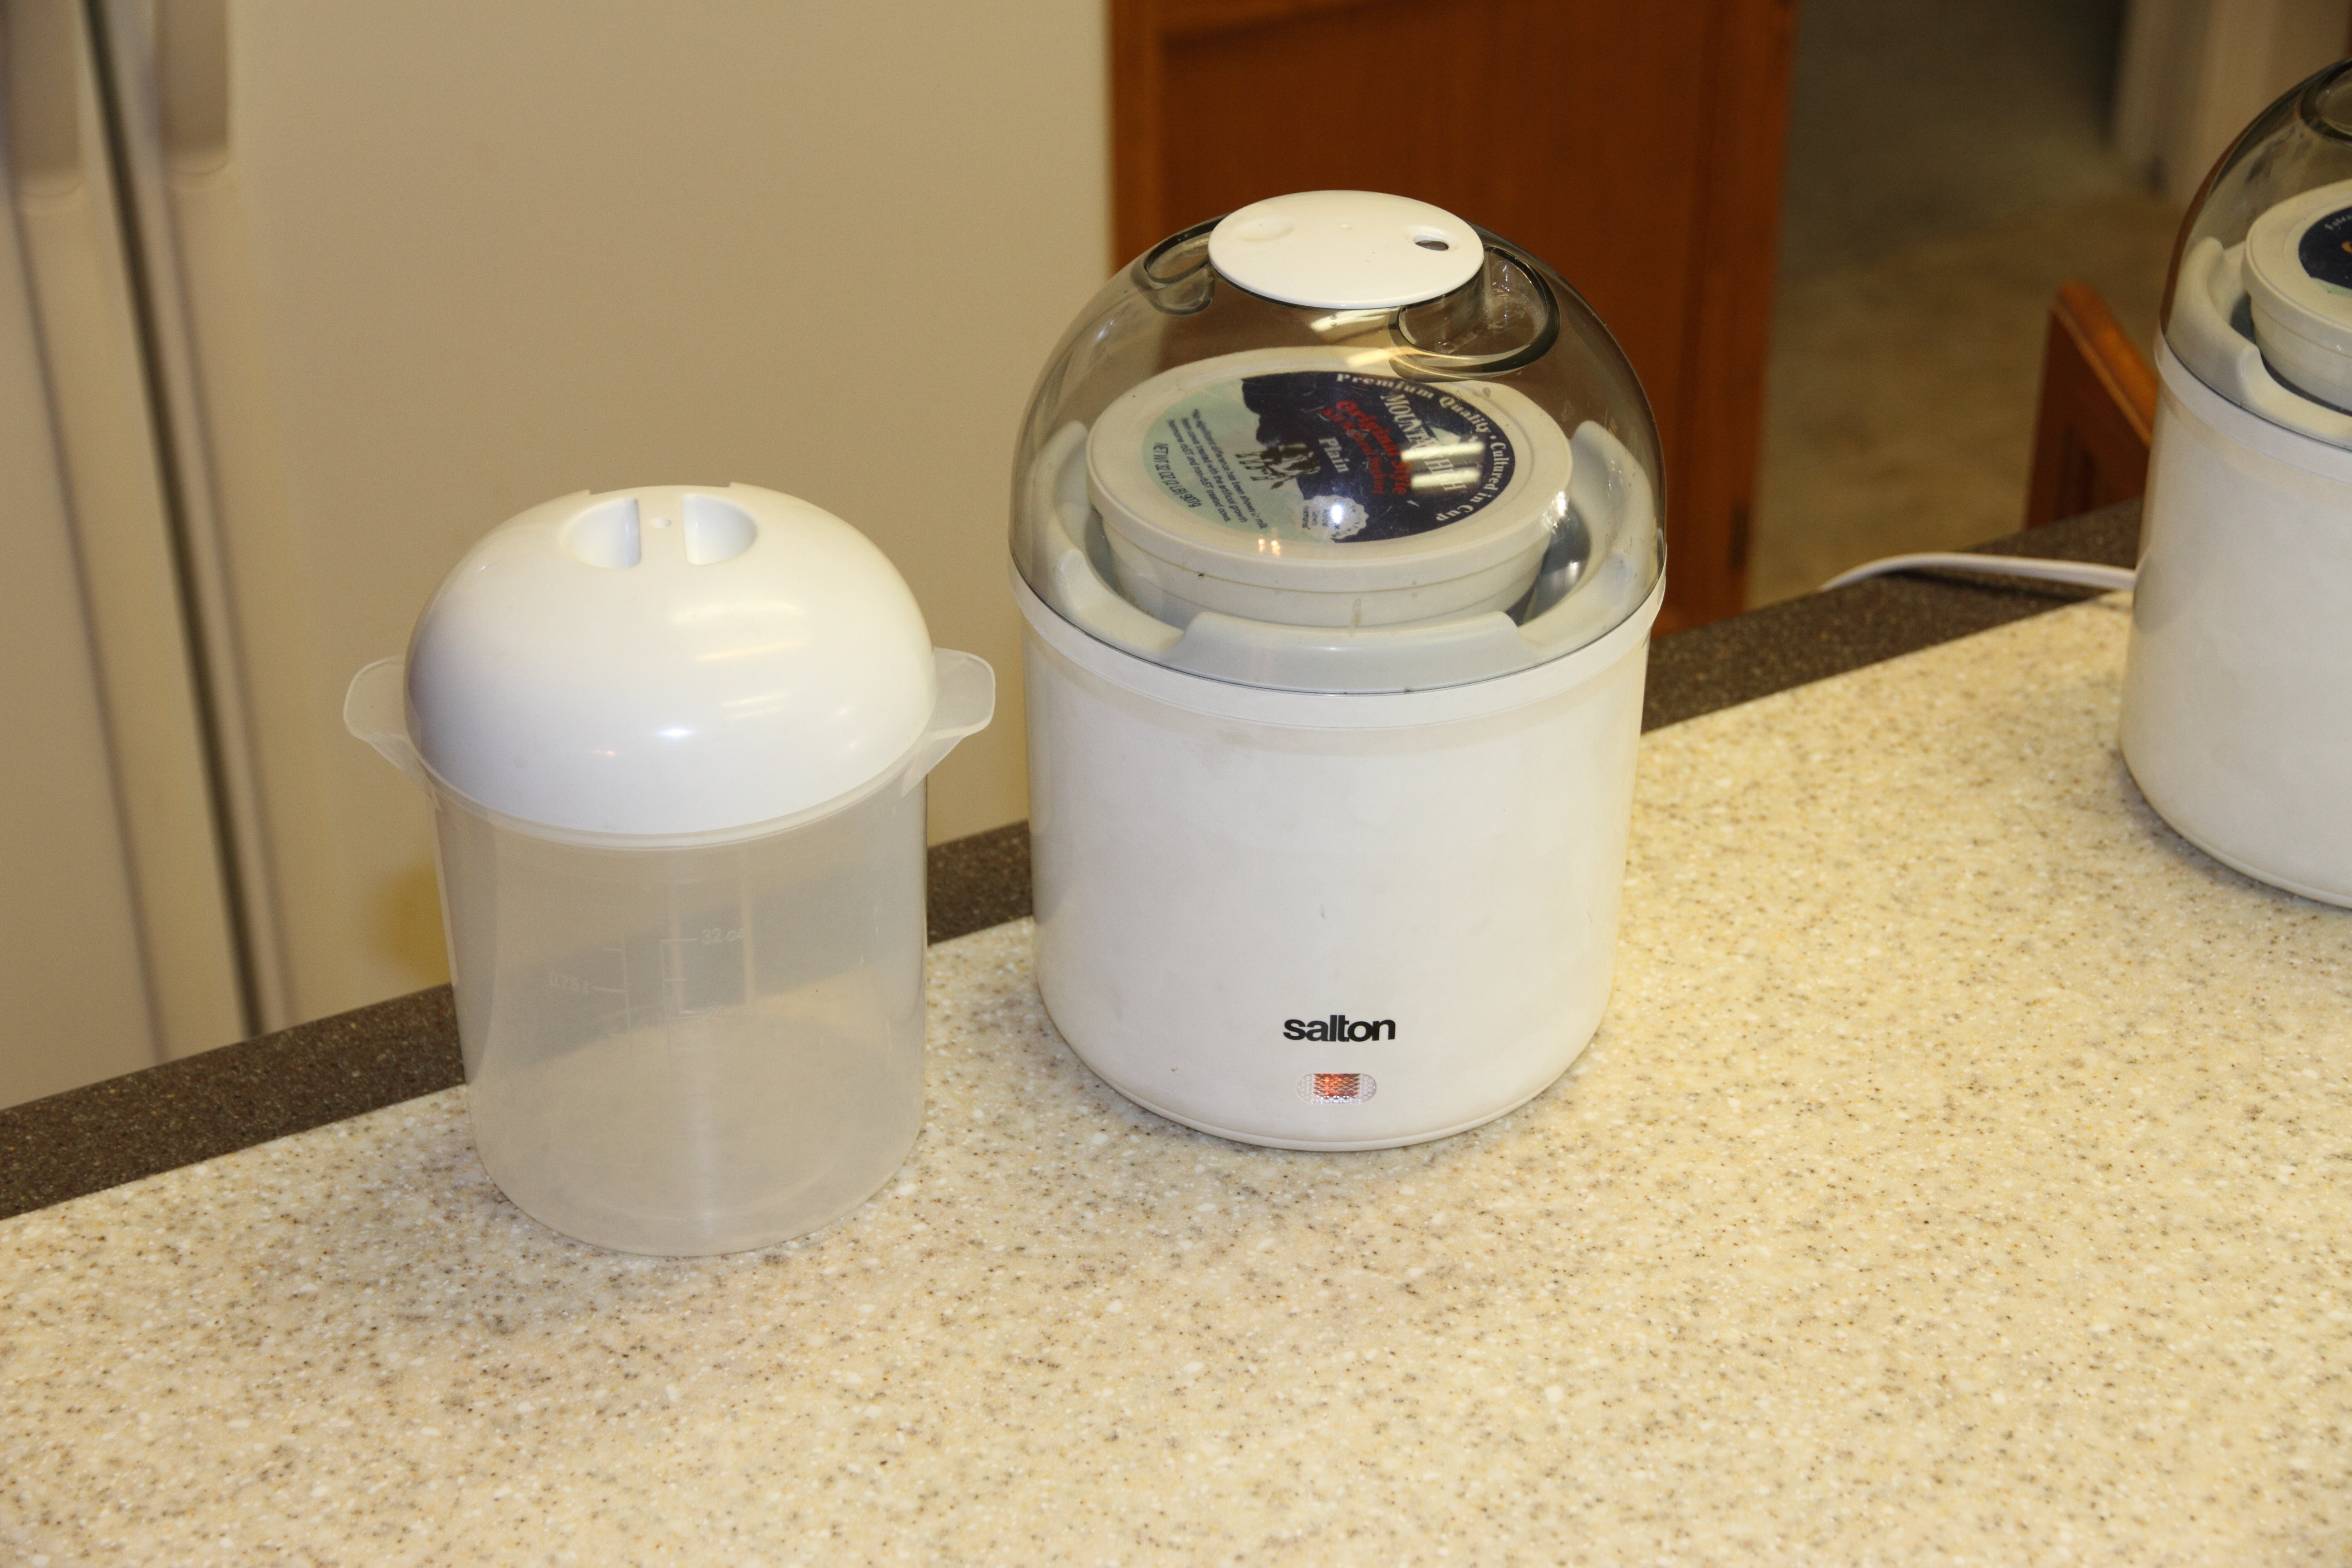
- Two Salton yogurt makers
- Two one quart empty yogurt containers. I use containers from Mountain High yogurt. OPTIONAL: Use the containers that come with the yogurt makers.
- One half-gallon pitcher
- A half-gallon of 2% organic milk, minus 1/2 cup (for the 1/2 cup of starter yogurt)
- OPTIONAL: 4 teaspoons sugar (if you prefer to sweeten the yogurt a little bit; this amount is 1/2 teaspoon per cup). I don’t use this.
- OPTIONAL: 1/4 teaspoon of vanilla. I don’t use this.
- 1/2 cup of starter yogurt
Here’s a picture of the Salton yogurt makers, containers, and pitcher:
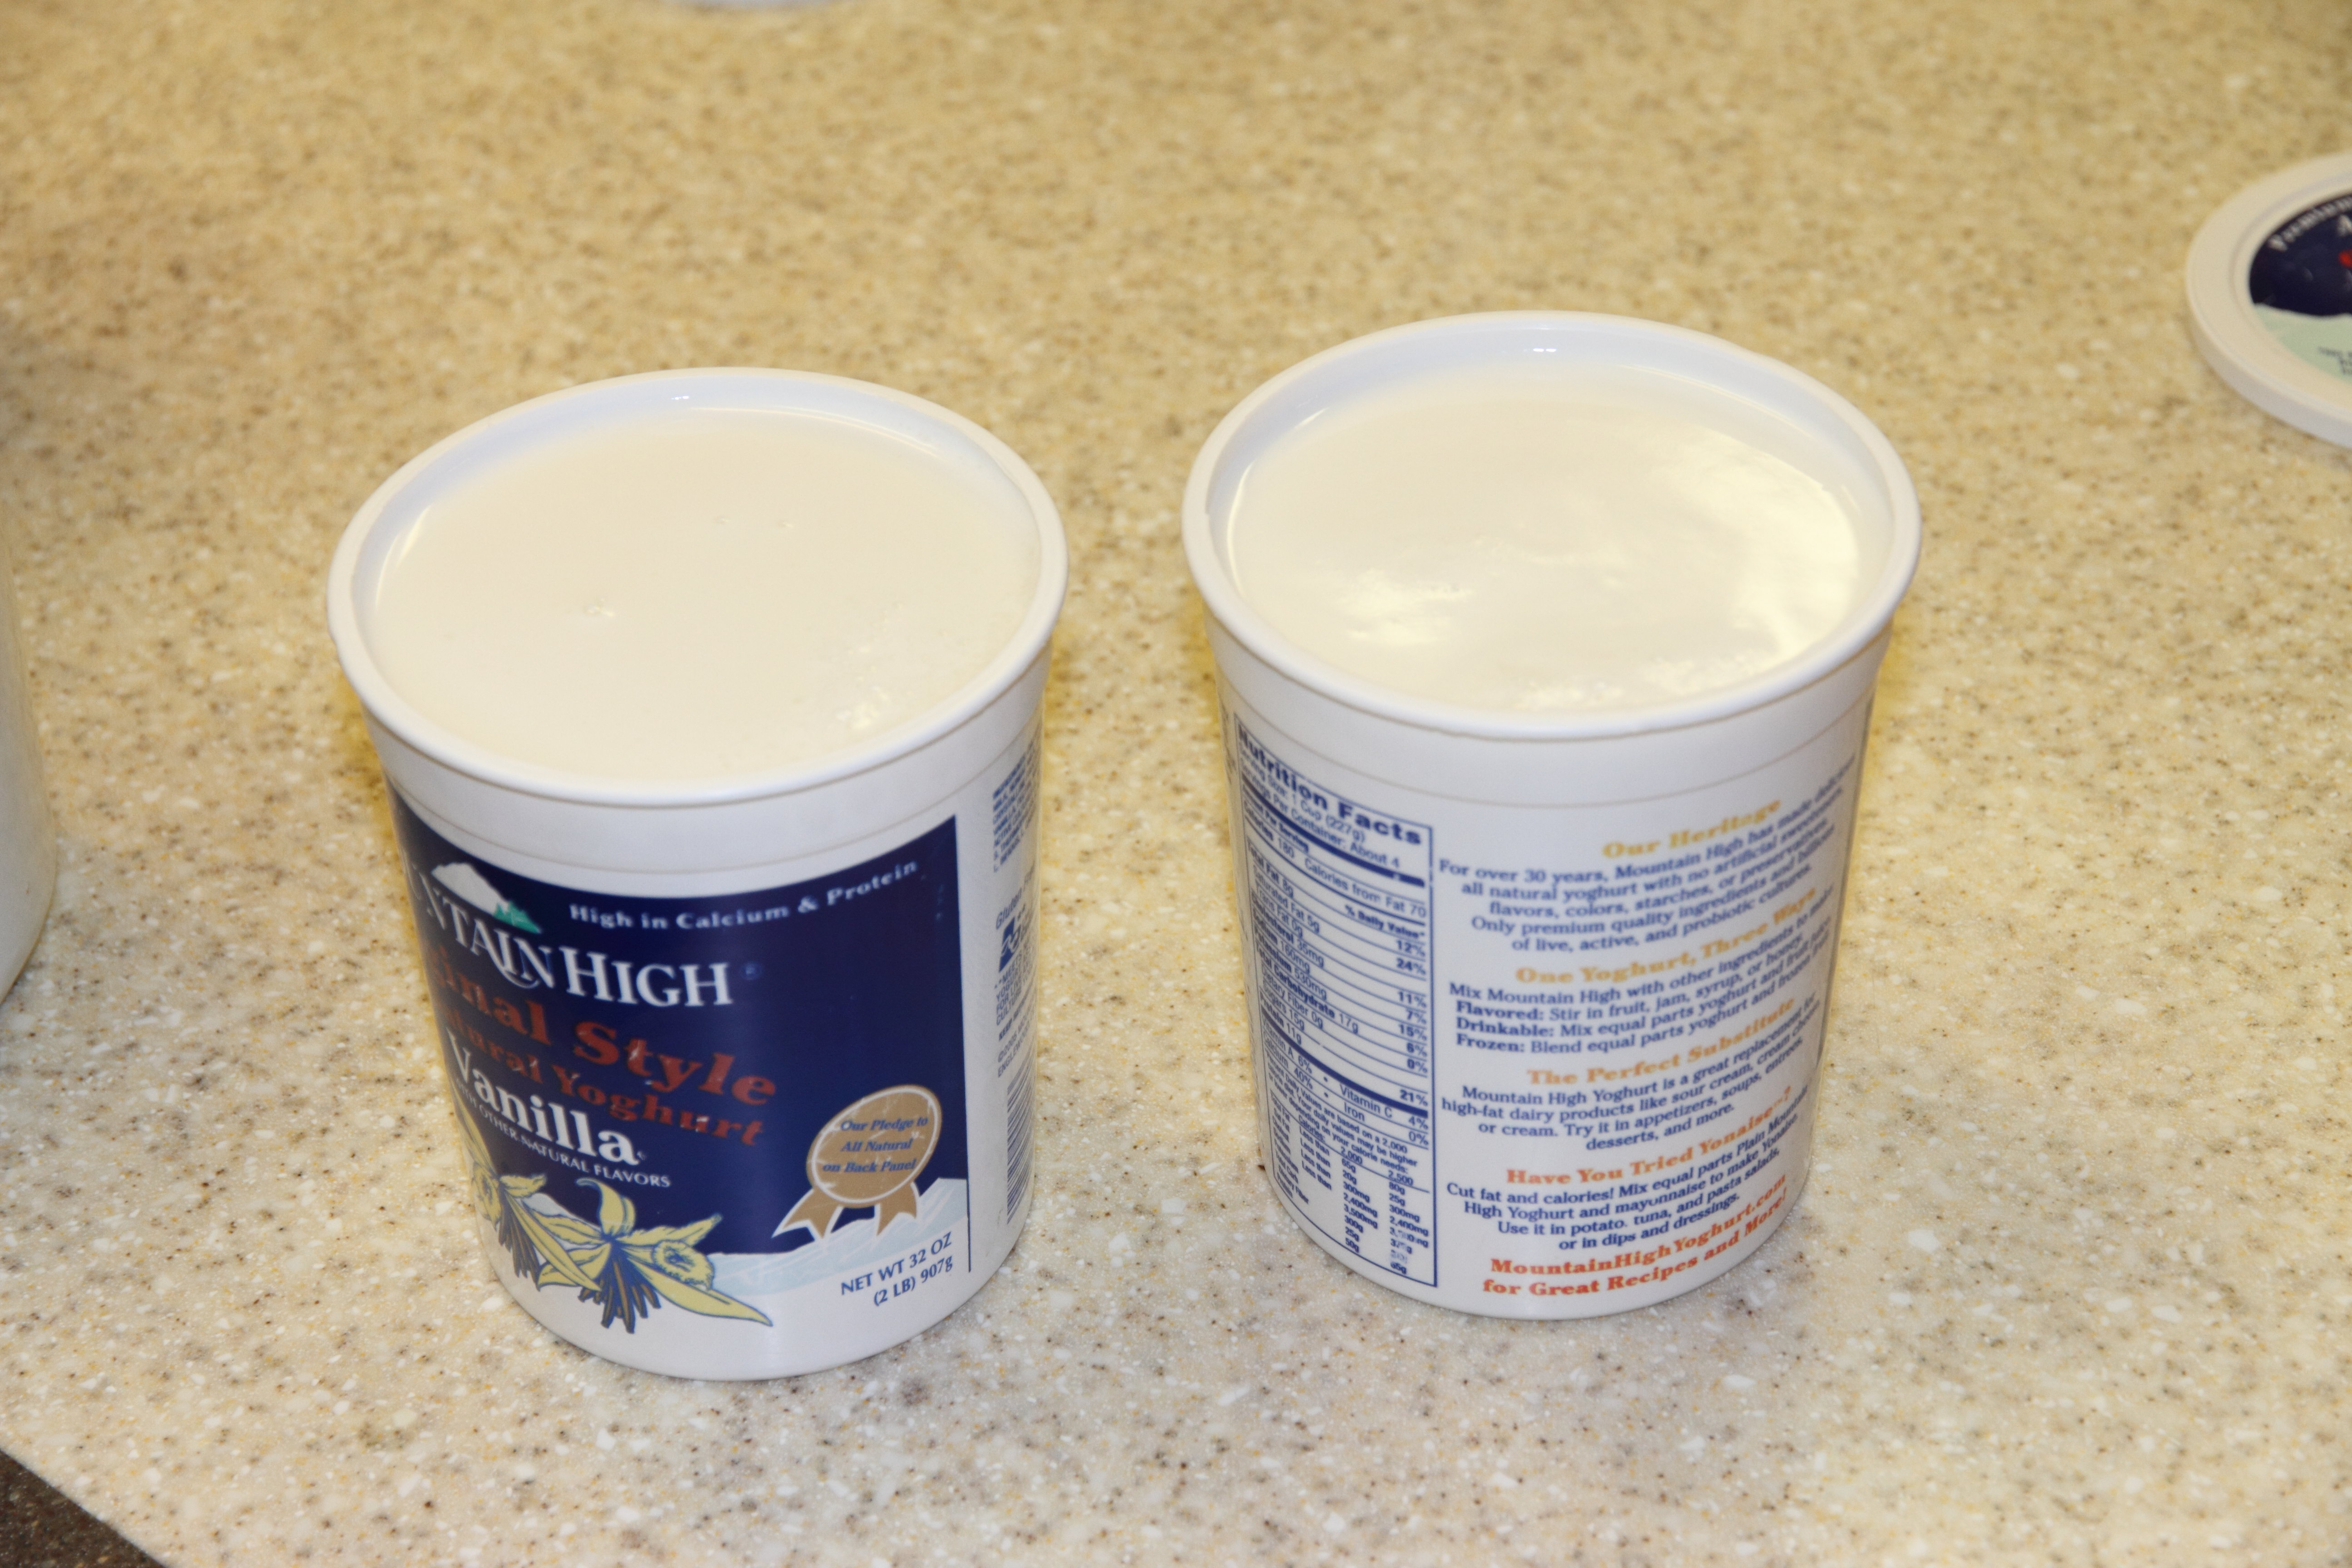
Since I discovered that the type and brand of milk makes a difference, I am including a picture of the milk we buy at Frye’s (a Kroger grocery store). It’s more expensive than the ‘regular’ milk, but it’s typically on sale, and sometimes at the same price as the non-organic milk.

Procedure
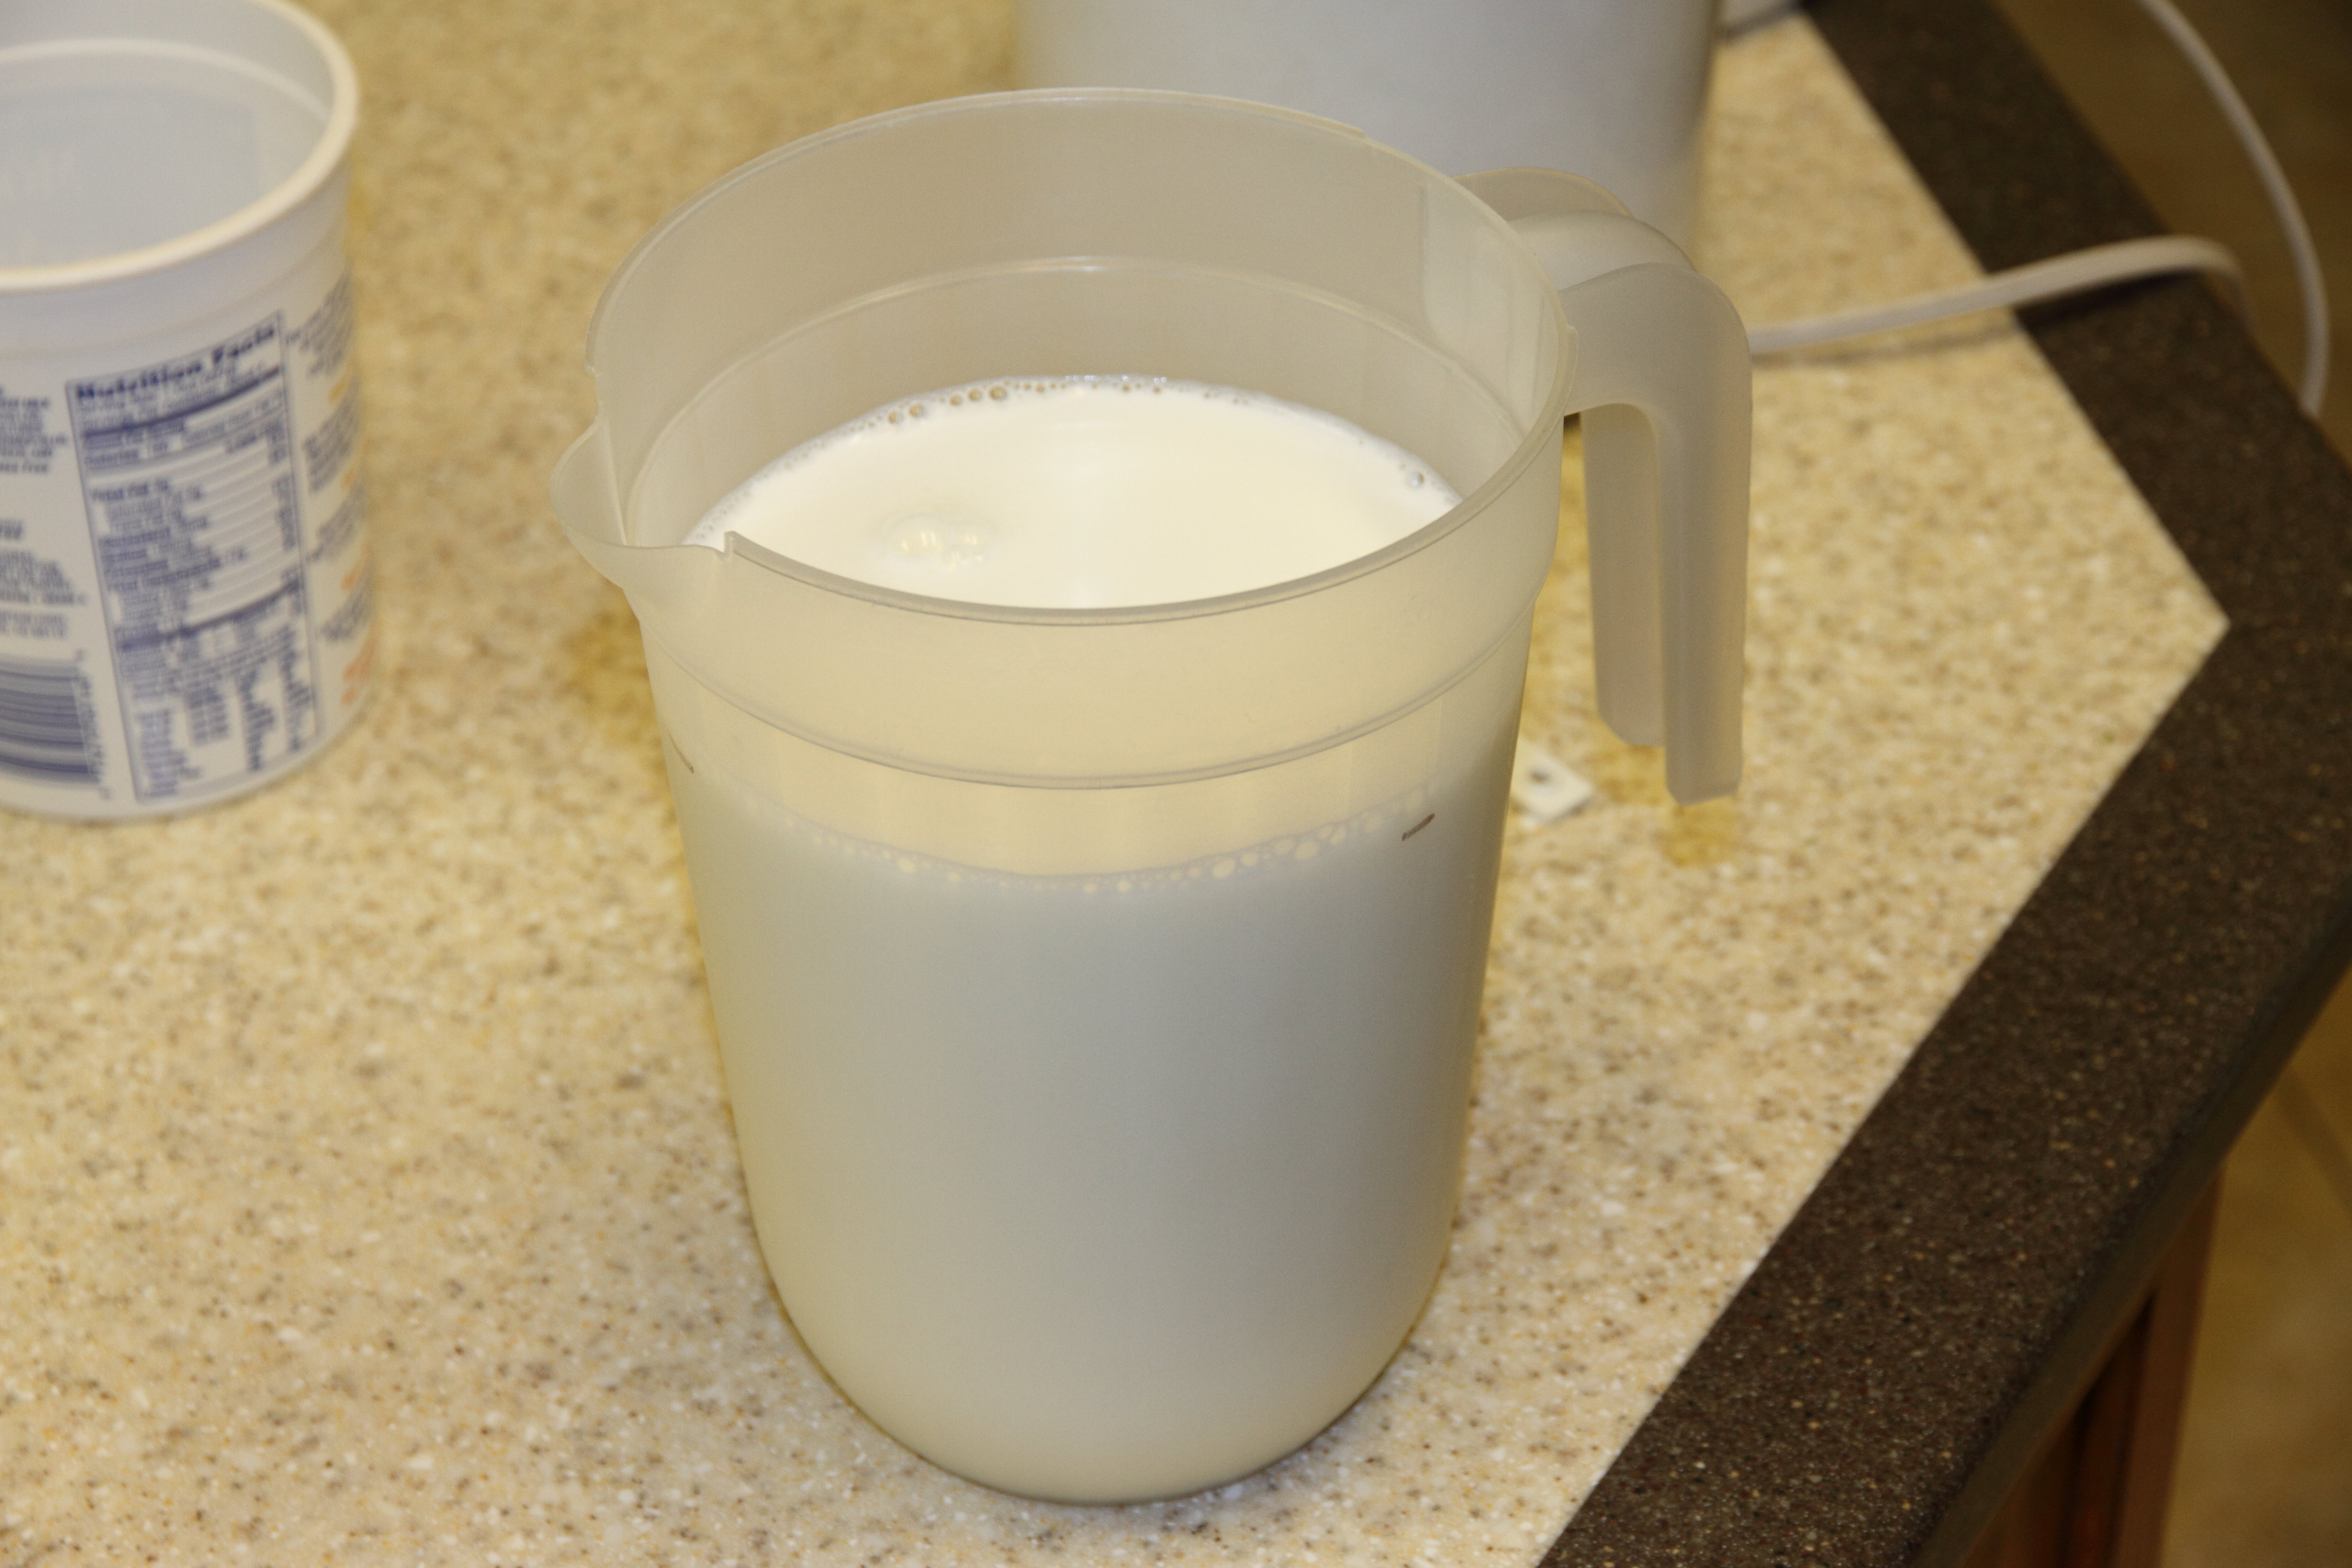
Fill up the pitcher with one half-gallon of 2% organic milk, less 1/2 cup (to make room for adding the starter yogurt with the live culture later). OPTIONAL: mix in the vanilla (it mixes into the milk better when the milk is cold). I don’t use the vanilla anymore. Heat it in the microwave until it gets to 120°F. The optimal fermentation temperature is 110°F; I heat it to 120°F because it cools while making it due to cooling over time, and due to adding the cold starter yogurt. 120°F will not kill the healthy bacteria in the yogurt. I used a candy thermometer the first time to find that it took 7:00 minutes in my microwave. Now I just heat it for 7:00 minutes so I don’t have to use the candy thermometer any more. Here’s a picture of the heated milk in the pitcher. Notice the black mark on the pitcher. I use the same pitcher and always fill it up to the black mark so that I don’t have to measure anything:
OPTIONAL: Add the sugar to the heated milk and mix it up. I don’t use the sugar anymore.
Now add the yogurt ‘starter’ to the heated milk. The starter yogurt has the live bacteria that will cause fermentation to occur. I use 1/2 cup of previously made yogurt. If you don’t have previously made yogurt, then you can use yogurt from the store that has live bacteria. I think most do (the label should say it has live bacteria). An example is Mountain High yogurt. I mix it in a separate container first to make it easier to mix into the pitcher. It helps get rid of the yogurt ‘clumps’. Put 1/2 cup of previously made yogurt into a container and add some of the heated milk and mix until there are no yogurt ‘clumps’. Add a little more milk and mix it some more. This step just helps mix the starter yogurt into the milk with no clumps.
Add the starter yogurt/milk mixture into the pitcher with heated milk, and stir it up.
Pour the mixture into the two yogurt containers:
Put the containers into the yogurt makers:
Let the mixture ferment in the container for 8 hours. Afterwards, put in the refrigerator overnight. I’ve read that its not good to stir the yogurt or jostle it too much after it’s fermented, but before it has set up (I’m not sure I believe it, though 😊).
That’s it! Enjoy your delicious homemade yogurt!
Additional Information about Yogurt
This section has additional information on yogurt, and on my yogurt making experiments.
What is yogurt?
You can google and find lot’s of information about this. I’ll provide a nutshell.
The concept of yogurt making is very simple:
- Heat up milk to 110°F
- Add some yogurt that has a live culture (i.e. live bacteria)
- Keep it at 110°F for a while to let it ferment.
During fermentation, the bacteria eats the lactose and produces lactic acid. The lactic acid combines with proteins in the milk to make the yogurt thick and give it the tangy flavor. People who are mildly lactose intolerant can tolerate yogurt because a large amount of the lactose is removed by the bacteria. There are a lot of claims for the health benefits of yogurt, and I think some controversy. I think it is good for you, but not a miracle food! You can decide for yourself.
Given that simple recipe, there are the following choices:
- How do you make Greek Yogurt?
- Do you need a yogurt maker?
- How can you make the yogurt thicker?
- How much starter yogurt should be added to the milk?
- How long should the yogurt ferment?
- What else (e.g. fruit or flavoring) can you add to the yogurt before fermentation?
- What bacteria should be used in the yogurt?
- Should the milk be pre-heated to 200°F?
I’ll discuss these choices below.
Here are some links for more info:
Yogurt general description
Bacteria in yogurt
Greek Yogurt
It’s relatively easy to make Greek Yogurt. I’ve done it several times, but mostly I’m happy with the ‘regular’ yogurt.
To make Greek Yogurt, follow the recipe in this post to make yogurt (including letting it set all night in the refrigerator). Then get a paper coffee filter (like you use in coffee makers), and put it inside a kitchen strainer. Put the strainer with the paper filter over a bowl or pitcher (I use a 2 cup Pyrex measuring pitcher), and fill the paper filter with yogurt. Then put the whole thing into the refrigerator, and let it set for a couple of hours. You will see that the whey (a clear tangy tasting liquid) will strain out of the yogurt into the bowl, making the yogurt thicker. The longer you leave it, the more whey is strained, and the thicker it gets. You can judge for yourself how long you want to leave it, depending on the thickness you want. You can drink the whey from the bowl – I like it, and they say its healthy. Or you can toss it.
It’s a little bit of a pain to scrape the resulting Greek Yogurt out of the paper filter. I couldn’t find any kitchen strainers with fine enough screens to sufficiently filter the yogurt without the paper filter. I recently got a screen with our new coffee maker that can be used in place of paper filters, that has a very fine screen. It may work for straining the yogurt without a paper filter, but I haven’t tried it.
The resulting Greek Yogurt is good by itself. We also use in place of sour cream, either in recipes, or with meals (e.g. with a baked potato).
Cost and Calories
I don’t make the yogurt to save money or cut calories, but it’s interesting information. The cost and calories is about the same as for the milk used to make the yogurt. If you use sugar, add 7 calories for the 1/2 tsp of sugar.
Homemade yogurt cost: $1 per quart (today’s cost of 1/2 gal of milk: approx. $2; half of that is one quart)
Homemade yogurt calories per cup: 120 calories, 45 from fat
Here’s the cost and calories for plain Mountain High yogurt. It’s not really a fair comparison on the calories because the Mountain High yogurt isn’t low fat (like the 2% milk that I use).
Mountain High yogurt cost: $2.89 per quart
Mountain High yogurt calories per cup: 230, 60 from fat
That doesn’t include the cost of the yogurt maker. I paid $16/ea. for the two yogurt makers. Averaged over all the yogurt I’ve made in 16 years, comes out to practically nothing.
Do you need a Yogurt Maker?
I don’t think you need one, but I haven’t tried it without. You need a way to maintain the constant temperature of 110°F for about eight hours. I found various ways, with and without electrical power, that people use to do this. The Salton yogurt makers just make it very easy so you don’t have to worry about it. They were inexpensive – around $16 each. They are very simple. You just plug them in, and they maintain a constant temperature of 110°F in an insulated chamber. I decided to try one. Worst case, I would be out $16. However, it worked so well I wound up buying another one so that I could make two quarts at a time.
The Salton yogurt makers aren’t designed to heat up the milk, but rather just to maintain a constant temperature. That’s why I heat the milk/pectin mixture to 120°F. It cools to about 110°F (or maybe a little higher) while making the yogurt, and the Salton yogurt makers then maintain the mixture at that temperature.
Some other ways I saw that people use are: put the heated yogurt mixture in an insulated container and put it in a warm place; use a crock pot; use the oven; etc.
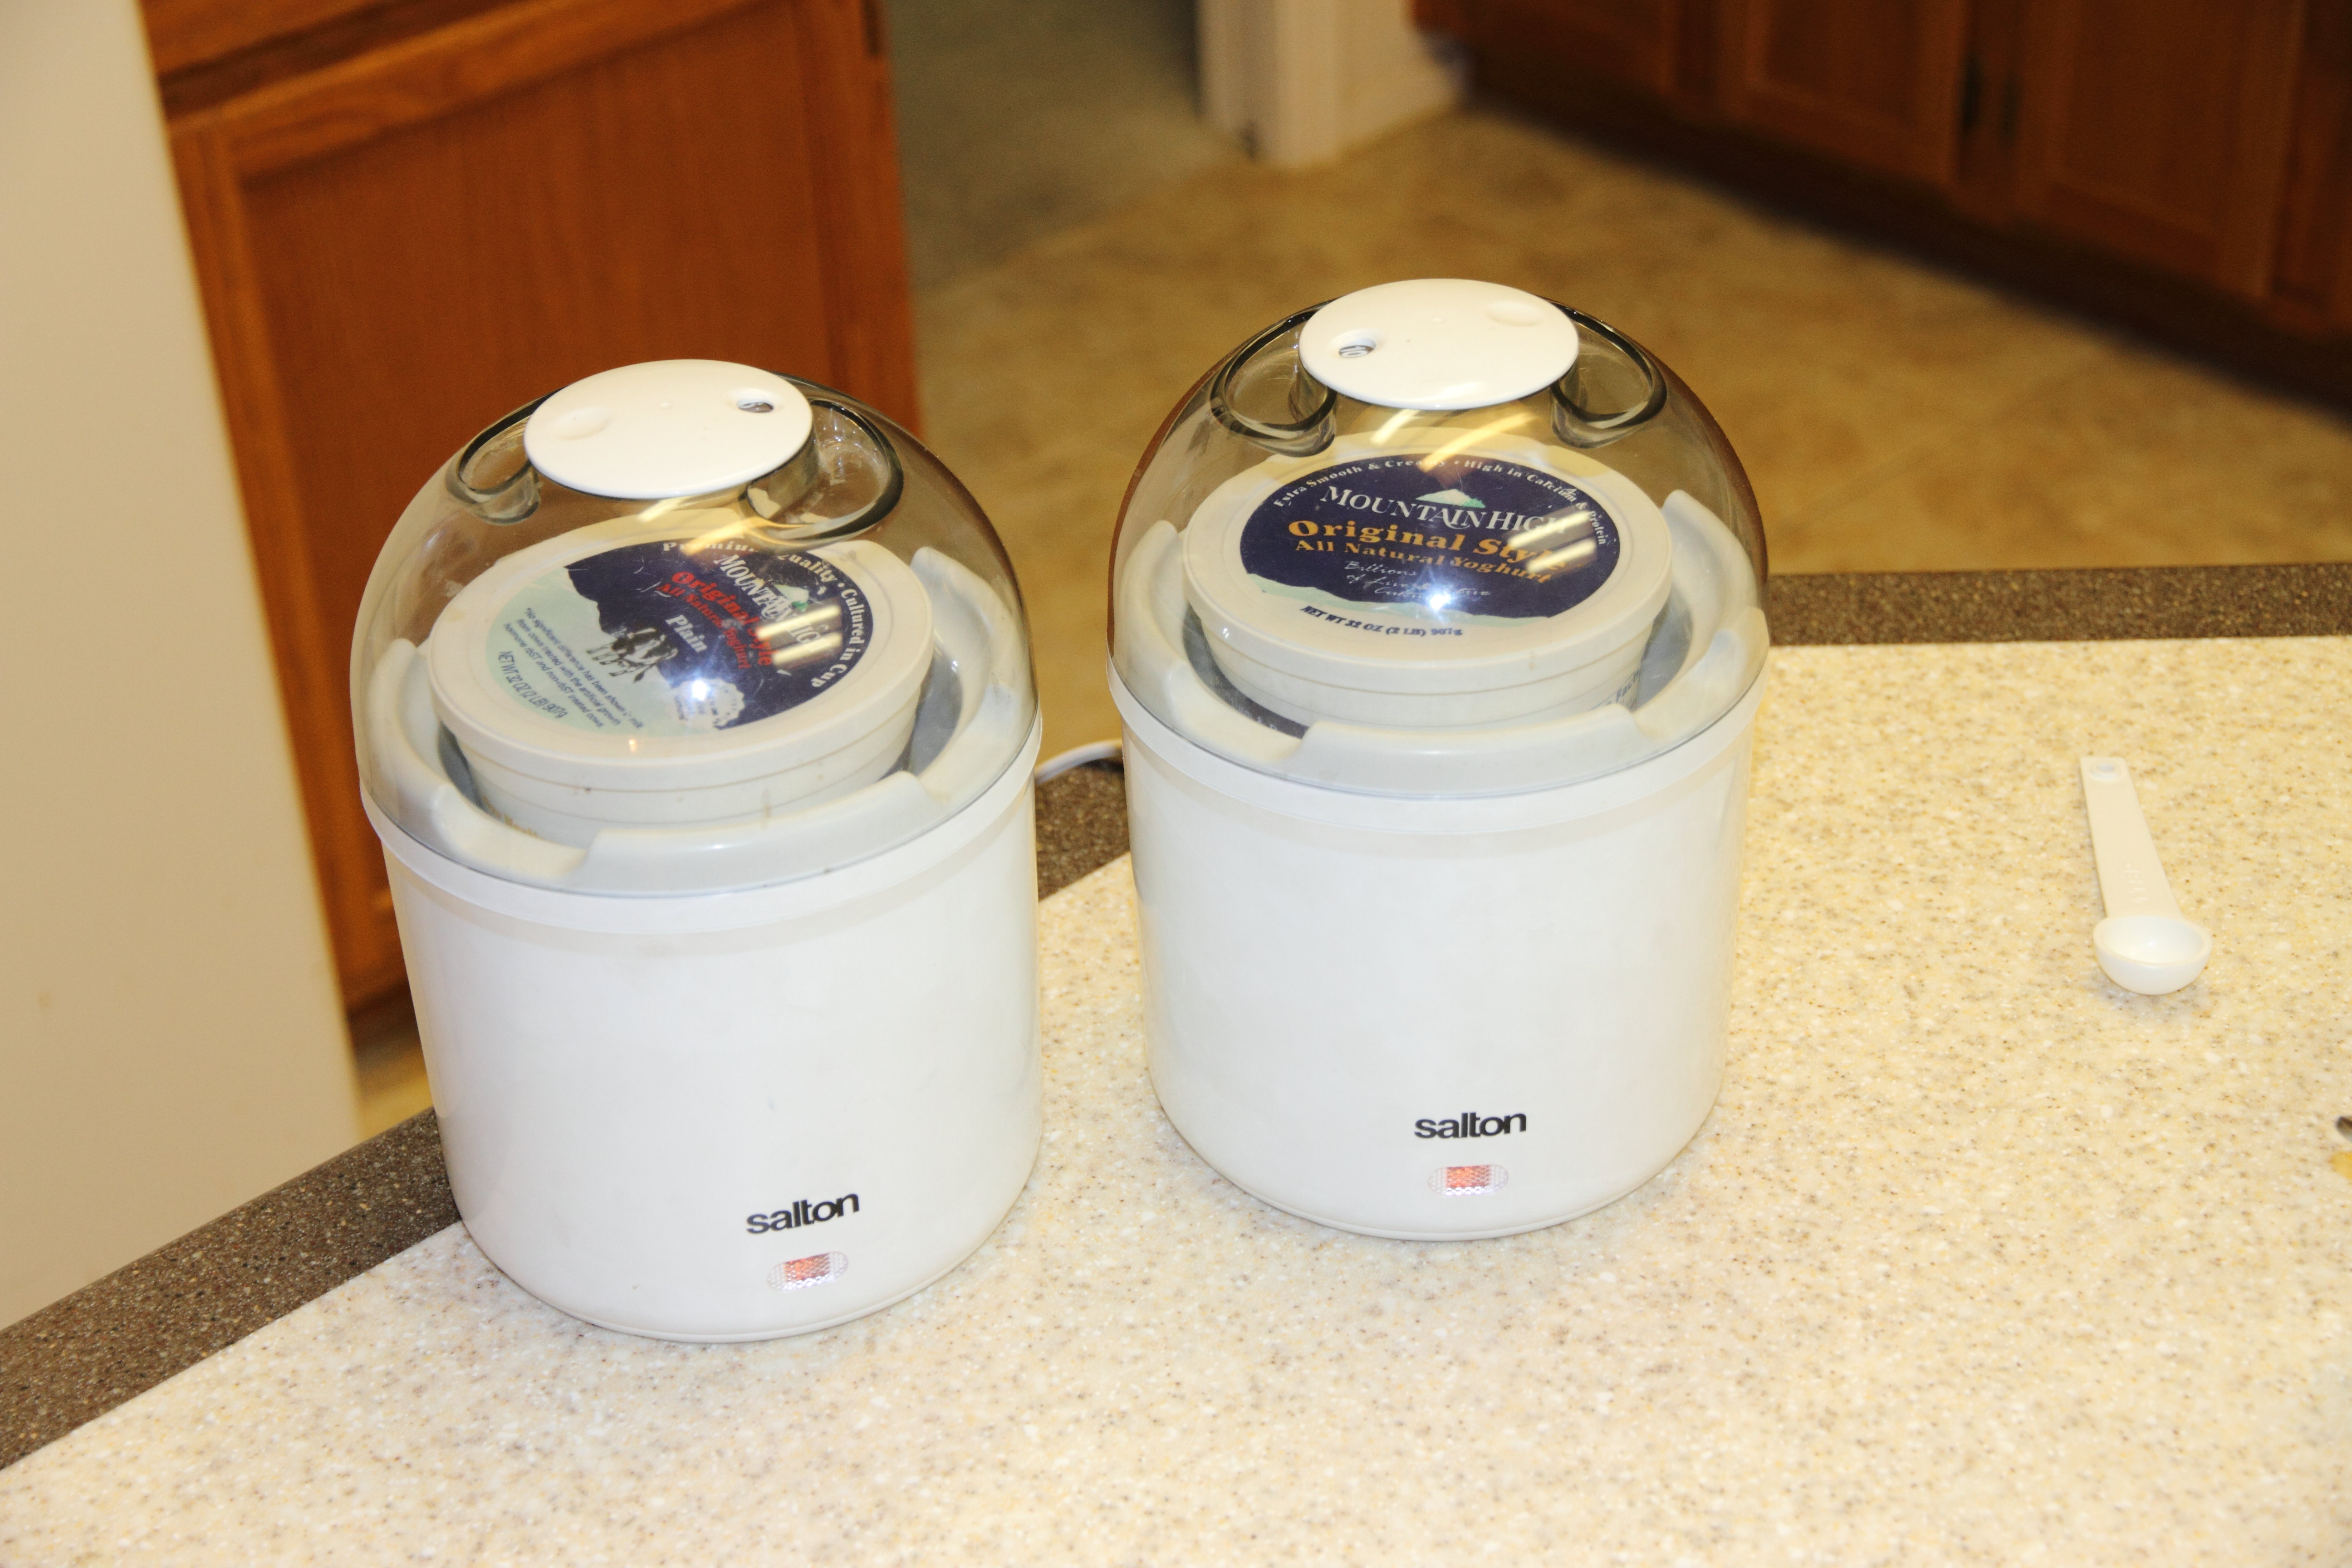
As a side note, the Salton yogurt makers come with a container for the yogurt. I don’t use them; I use the old containers from store-bought yogurt instead. They are more convenient for me. Here’s the container that comes with the Salton maker:
Yogurt Thickness
The thickness and texture of yogurt is a matter of preference. Yogurt that we buy in the store tends to be thick, so that is what people are accustomed to, and expect. If you look at the ingredients of yogurt products found on your store shelves, you’ll find they use some kind of thickener, such as gelatin or pectin, or both. I experimented with a few ways to thicken the yogurt. This section gives a brief description.
Non-organic Milk
I tried using non-organic milk with no thickener. It thickened to a consistency of a runny milk shake – not as thick as what we get at stores. I tried different things to make the yogurt thicker. For example: use whole milk; mix in powdered milk; ferment longer. None of these resulted in yogurt thickness that we are used to from the store.
2% Organic Milk
I made a batch of yogurt with the pectin recipe, and it failed to ferment. This was the first failure since I started using the recipe about 3 years before. I tried again, and it failed to ferment again! Something had changed that resulted in this failure, so I tried to determine what it was. I thought maybe the milk we bought was changed somehow (maybe a new processing step for the milk). Also, I had just bought a new batch of pectin, so I thought maybe something was wrong with it. As an experiment, I decided to try some ‘different’ milk, and not use the pectin. The ‘different’ milk I tried was 2% organic milk. To my surprise, it not only fermented, but it also thickened up very nicely. I now make yogurt with organic milk and no pectin.
Pectin
It took me a lot of experimentation to arrive at the pectin recipe. The most common pectins require sugar to set (aka to thicken). These won’t work for me because I don’t add sugar. Other types of pectin use calcium to set, for example Pomona’s Universal Pectin. When I first tried Pomona’s, it made a sticky, globby, mess, and wouldn’t mix in with the milk. I tried several things, to no avail. So I gave up and used gelatin for many years. Then I saw that some information was added to the Pomona’s Universal Pectin website about using their pectin in yogurt (see here; note that they recommend 2 tsp of pectin, but I like 1 tsp better). I tried it and it worked! However, the next time I made it, it was too thick on top, and runny on the bottom. I tried many times (maybe 10 times), trying different things, and getting inconsistent results. I finally got it to a point where the results are a consistent texture that I really like. The key is to get the Pomona’s Universal Pectin to mix well and completely throughout the milk solution. As suggested at the Pomona’s site, I used a blender and hot (210°F) milk to dissolve the pectin.
The Pomona’s Universal Pectin comes with a package of calcium powder. It is used to make calcium water, which is then used in recipes for jams and jellies to provide the calcium needed for the pectin to thicken. With yogurt, the calcium water isn’t needed because the milk has plenty of calcium in it naturally.
A link to the pectin yogurt recipe is here.
Gelatin
Gelatin worked well as a thickener, but it didn’t quite have the texture I was looking for. It was kind of … well.. gelatiny. Kind of like jello yogurt (but not that bad). The recipe for the gelatin yogurt is here.
Amount of Starter Yogurt
The different recipes I’ve seen use differing amounts of starter yogurt. I tried 1/2 cup per quart and 1/4 cup per quart. I’ve settled on 1/4 cup per quart (for this recipe, which makes two quarts, I use 1/2 cup). It didn’t seem to make a difference in the thickness, but it seems to produce tangier yogurt after fermenting for 8 hours.
Fermentation Time
I’ve tried different fermentation times from 2 hours to 8 hours, but I’ve settled on 8 hours. The fermentation time effects the thickness and flavor. The longer you ferment, the more sour (aka ‘tangy’) the flavor. Also, the yogurt gets thicker with longer fermentation times. I experimented with fermentation times using non-organic milk, I’ve found that it’s quite a bit thicker after 8 hours compared to 3. With the organic milk, I use 8 hours of fermentation time, and the thickness is almost the same as when I used pectin with the non-organic milk.
Adding Flavors Before Fermentation
I used to add a small amount of vanilla before fermenting, but now I just make it plain. The vanilla does make a nice flavor. The only other flavor I’ve tried adding is honey, and I didn’t care for the result. I added 6 tbsp for 1 quart. Maybe that was too much.
I don’t have much motivation to add ingredients before fermenting, because we can just add whatever we want afterward. We use yogurt on cereal, add it to fruit, make yogurt drinks, use it in recipes, etc.
Bacteria in Yogurt
From what I can tell after doing a little research, two bacteria are required:
– Lactobacillus bulgaricus
– Streptococcus thermophilus
There are three others in the Mountain High starter yogurt that are added, I think, for their probiotic benefits:
– Lactobacillus acidophilus
– Lactobacillus bifidus
– Lactobacillus casei
You can go online to find some properties and probiotic benefits (if any) of these bacteria, for example, see here.
Should the Milk be Pre-Heated to 200°F?
Most of the recipes that I’ve seen call for pre-heating the milk to 200°F (some recommend less, such as 185°F) and holding it there for 20 minutes or so, and then letting it cool to 110°F. The high temperature kills any competing bacteria that may be in the milk. I’ve never done this, and haven’t had any problems. My theory is that the milk I’m using has already been pasteurized and homogenized, and I don’t need to heat it up again. Eliminating this step also saves the time and hassle of waiting for it to cool, and determining that it’s cooled to the correct temperature.
12 Comments
I’m impressed!
Wowzer! I want to try this. Some instant pots have a yogurt setting. Mine is older and doesn’t have one, but I have seen recipes for yogurt in the IP. I love the organic 2% milk tip. I like yogurt a bit thicker than you do. Thanks!
We like the yogurt pretty thick. The pectin makes thick yogurt with a nice texture. You can make it as thick as you want – just add a little more pectin. I used gelatin for a long time, but it wasn’t as thick, and the texture wasn’t what I was looking for. Maybe that’s what you’re thinking of, but I haven’t made that for a while. The new recipe with 2% organic milk, and no pectin, is about the same as we get with the pectin recipe – maybe not quite as thick. I like it because it’s easier to make, and I like the idea of no thickener. Come on over and I’ll give you a quart to try out 🙂
I looked up IP recipes and think I’ll try it with your 2% organic milk. They don’t use thickeners at all so I’ll let you know how it turns out.
Just curious: you said that your IP doesn’t have a yogurt setting, so how are you going to do it? Does your IP recipe say how to set your IP to maintain a temperature of 110°? Also, do you put the container with heated milk + starter in the IP? I think that would be better than putting the mixture directly in the IP, because you would have to move it to a container when it was done, which may be tricky. I’ll be interested to see how it turns out.
Wow! Lots of good info. Very interesting.
But I’ll stick to the grocery store! LOL
MJ
Well, I guess the store bought is OK . Just kidding. I agree that the store bought yogurt is good. I don’t have a good reason for using home-made yogurt. On a lark, and out of curiosity, I decided to try making yogurt. That was about 16 years ago, and I’ve been at it ever since. I guess I just like making it: it’s easy, and the fermentation process is interesting to me. It’s mostly the only yogurt we eat now.
I made yogurt in my IP and it is delicious. I followed a recipe that was pretty easy. Basically heat milk to 185degrees (sauté function stirring periodically-I used organic whole milk), let cool to 110 degrees, add 3 tbs of active yogurt (I got Nancy’s plain full fat), add any extras (I added some vanilla), then put pot back in the IP with cover on, wrap a towel around it and leave for 8 hrs ( I left it longer because it was overnight). In the morning it was done, thick and yummy. One thing my recipe suggested was adding a small can of sweetened condensed milk to the milk before heating if you want some sweetness. I did this because I like some sweetness to my yogurt. I’m so glad you posted about your yogurt as it got me to try the IP version and love it!
Thanks for the update. I’m curious about the amount of starter yogurt. Was that 3 tbs for 1 quart of yogurt, or for a half gallon? If it’s a quart, it’s about the same as I use (I use about 4 tbs per quart). If it’s a half gallon, then it’s half as much as I use, and I could try using less starter.
Also, while it was fermenting over night, did you have the IP turned on to maintain the temperature at 110 degrees, or did you just rely on the insulation of the towel and IP to maintain the temperature?
It was 3 tbs for the half gallon of milk. The towel and the IP itself was the insulation to maintain temperature. The IP was turned off! I’ll send you a pic of the finished product. I don’t know how to attach a photo on this site.
Interesting. So, you didn’t really need the IP at all. You could heat the milk in the microwave (or on the stove). You insulated the milk while fermenting with the towel and IP, but you could also use a cooler to insulate, or even just the towels. I guess don’t really need the yogurt makers either. But, they’re nice for maintaining a constant temp. It’s also interesting that I could use even less starter. I am using the lesser of recipes I saw on the web, but your recipe cuts that in half, and it still seems to be plenty.
Thank you for the Christmas gift come early! Love & Miss you ! Love it!!